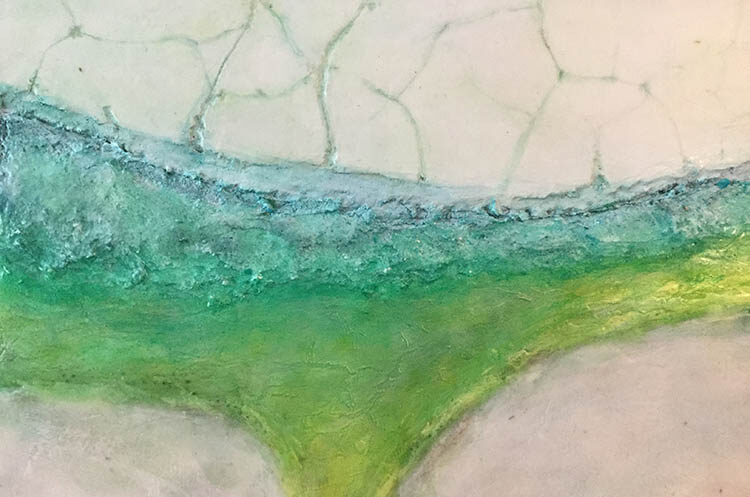
Large Abstract Process 1
Since I got back home from my “art vacation” I have been working on the abstracts I started (see previous posts).
Here’s where the large abstract is at at the moment and some of the steps in the process. First of all, here again was the sketch I did of my plans for it:

I then sketched out the composition on an unprimed, cradled 24″ X 36″ Ampersand Hardbord (high density board) panel using gesso.

Once home, I carved out from a 12″ X 24″ unmounted “Hardbord” strip what will be the “cracked” looking top and bottom portions of the large abstract using wood carving tools. I then glued these to the cradled (mounted) large abstract at top and bottom using Polymer Medium and Heavy Gel by Golden.

I didn’t take a photo of these before and after applying them. Here’s a couple photos of the left-over middle section of the cutout on a 12″ X 24″ Hardbord sheet. I will use it on a future abstract.
I “excavated” the bottom strip I glued to the surface at the transition between it, and what is to be the start of the “rainbow” colored gel section, using carving tools creating a rough surface. For the top transition section I put on a layer of a combination of Light Molding Paste, Fiber Paste, and Coarse and Extra Course Pumice Gel by Golden. I then added the “cracks” in the top and bottom sections with carving tools. I then added TriArt’s Liquid Mirror to the “rainbow” areas. This creates a silvery reflective surface for the colored gels which will make them more luminous.

I then gessoed the surface of top and bottom sections and lightly the three center sections that will have an encaustic looking surface around the “rainbow” colored gels. During this process before painting I excavate and carve some more.

I then added some color over the what will be the colored gels section and added the final gesso to top and bottom.

Some of the gels, pastes and mediums used:

To be continued….


